DIY Magnetic Color Gel Holder for Bowens Mount Lights: A Simple 3D Printed Solution
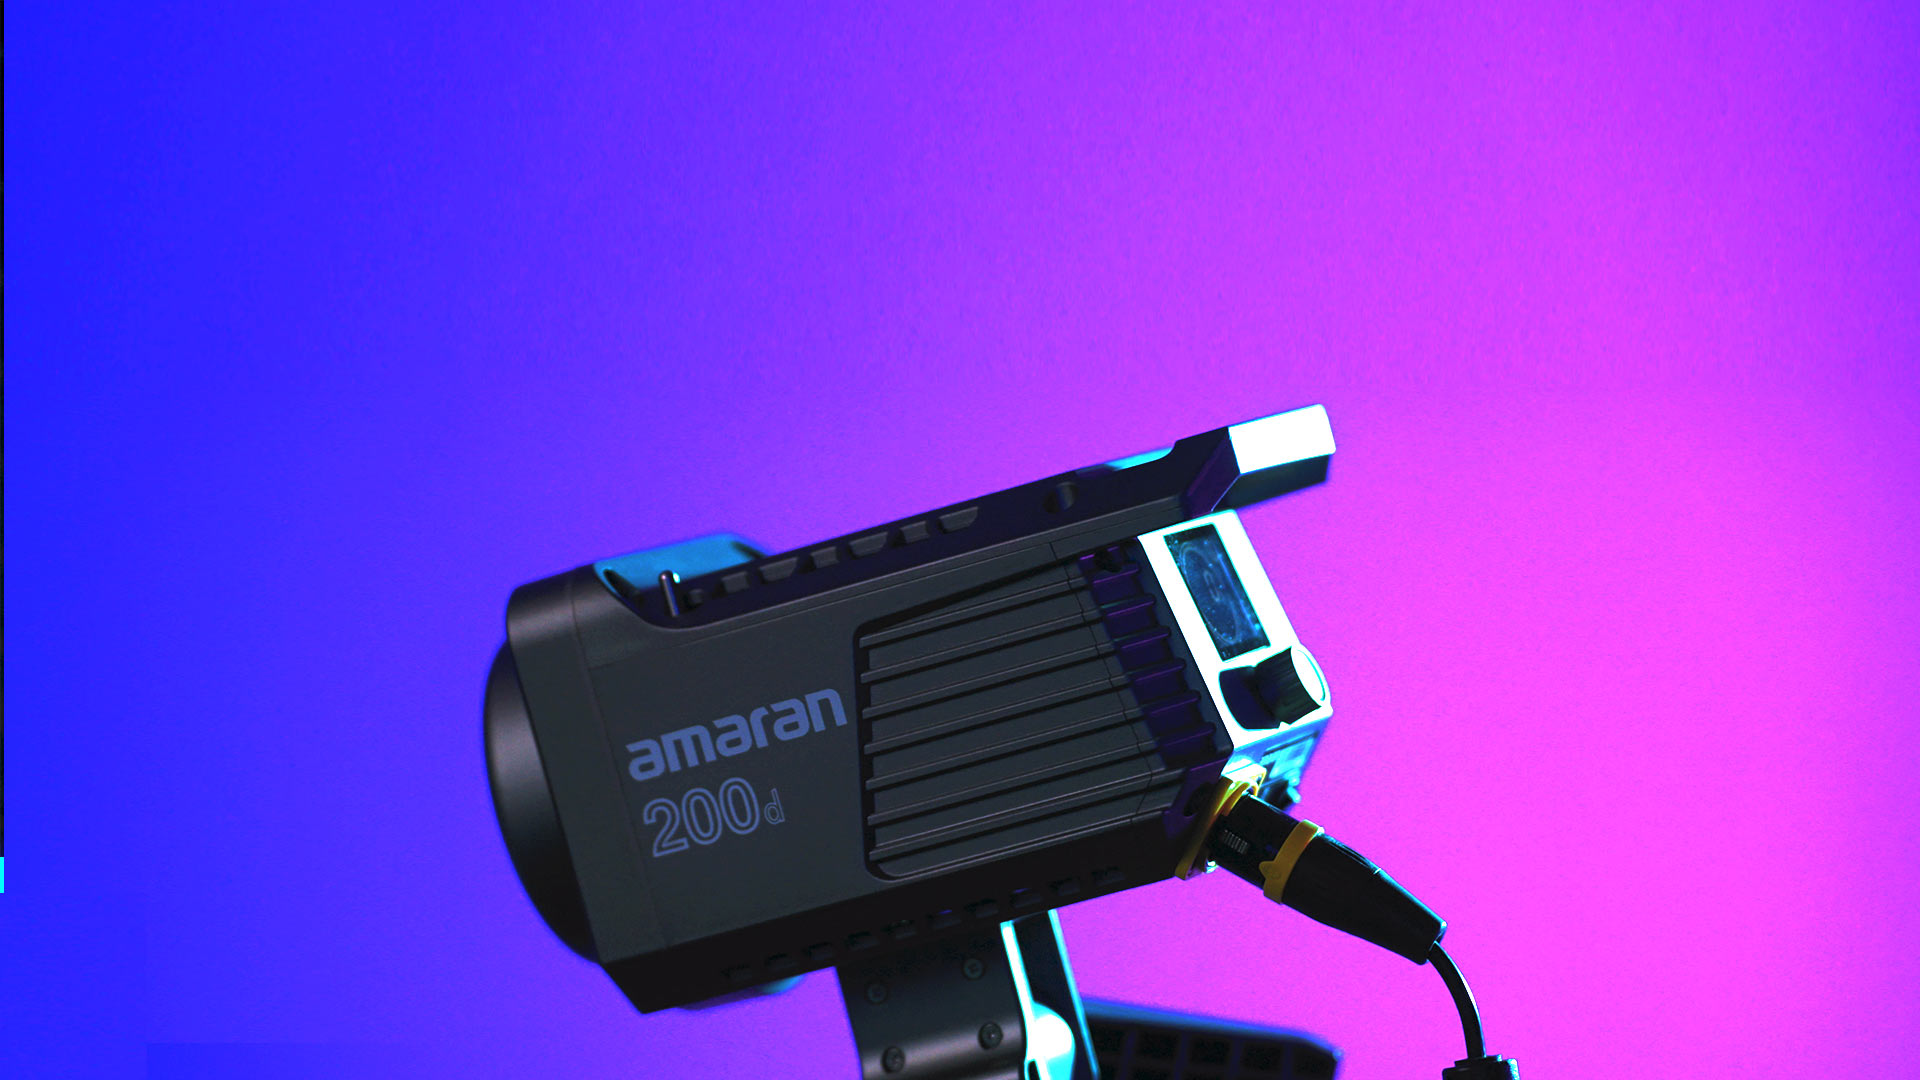
If you’re like me and love incorporating colorful lighting setups into your photography, you’ve probably struggled with the tedious process of attaching color gels to your lights. While RGB lights are great, they’re often smaller and sometimes it’s just easier to use traditional color gels on your larger fixtures.
After getting excited about some new Bowens mount lights in a previous project, I realized I needed a better way to quickly attach color gels without the hassle of tape or C-47 clips. The solution? A simple 3D printed magnetic gel holder that makes the process fast and convenient.
The Problem with Traditional Gel Attachment
Anyone who’s worked with color gels knows the pain points:
- Tape can leave residue and damage gels
- C-47 clips are fiddly and time-consuming
- Removing and swapping gels mid-shoot slows down your workflow
I wanted something that would let me quickly swap gels without any of these headaches.
The Solution: A Magnetic Ring System
The answer turned out to be surprisingly simple – a 3D printed ring with embedded magnets. Here’s how it works:
Most Bowens mount lights come with those familiar reflective bells (usually made of aluminum). While aluminum isn’t magnetic, we can make the system work by adding small binder clips to the bell, which then attract to the magnets in our printed ring.
The genius is in the simplicity – just a ring with strategically placed magnets that creates a fast-connect system for your gels.
What You’ll Need
Materials:
- Access to a 3D printer (check your local library if you don’t have one)
- 5mm diameter × 3mm height magnets
- Adhesive (hot glue gun works great)
- Small binder clips
Files: The 3D printing files are available for download, or you can purchase the pre-made version if you prefer to skip the DIY route.
Assembly Instructions
The assembly process is straightforward, but here are the key steps:
Step 1: Print the Frame
The design fits most 7-inch reflector bells and includes recessed indentations specifically sized for the 5mm magnets.
Step 2: Prepare Your Magnets
Space out your magnets before starting – you don’t want them sticking together while you’re trying to work with them.
Step 3: Install the Magnets
- The holes are slightly deeper than the magnets to allow space for adhesive
- Work quickly with hot glue as it hardens fast
- Place a small dollop of glue in the recess
- Slide the magnet in immediately
- Clean away excess glue
Pro tip: If a magnet goes in crooked (it happens!), you can reheat the glue with the glue gun nozzle to reposition it. Just be careful not to touch the nozzle to the 3D print for too long, or you might melt the plastic.
Step 4: Attach to Your Light
Simply clip small binder clips to your reflector bell, and your magnetic ring will attach instantly.
Beyond Basic Gels
This system works great with modifiers too. Instead of gelling an entire umbrella surface, you can simply “gel the bell” – much more efficient and cost-effective.
The Bigger Picture
Sometimes the simplest solutions make the biggest difference in your workflow. This little magnetic ring might not look like much, but it can save significant time during shoots and let you focus on what really matters – creating compelling lighting setups.
Final Thoughts
While this might not be everyone’s cup of tea, if you’re someone who loves experimenting with colored lighting, this simple modifier for your modifier could be a game-changer. The best part? It’s incredibly affordable to make and can be customized to fit your specific needs.
The goal is always to remove friction from the creative process, and sometimes that means building exactly the tool you need when it doesn’t exist in the market.
What’s the cheapest piece of gear in your kit that’s made the biggest difference in your workflow? Sometimes the most valuable tools are the simplest ones.
Buy the Doohickey Bowens mount adapter: tripletangocustoms.etsy.com/listing/1169039780/gel-adapter-for-bowens-reflector
– Affiliate links –
=== Gear Used in Video ===
— Main Camera —
Sony Alpha 7S III – https://amzn.to/3bbNurZ
— Overhead Camera —
Sony Alpha a6400 – https://amzn.to/3pu0YUZ
— Lighting —
GVM 80 – https://amzn.to/3avWMA1
28″ Deep Parabolic – https://amzn.to/2NvulsS
Godox Strip softbox – https://amzn.to/3qreR7O
— Backdrop Lights —
Aputure 2 H672W LED Panels – https://amzn.to/37jSaL4
— Backdrop —
Westcott 139 9×20-Feet White – https://amzn.to/37lKDeZ
— Lenses —
Tamron 28-75mm F/2.8 – https://amzn.to/2LV4V7k
Tamron 70-180mm F/2.8 – https://amzn.to/3dlUBkm
Tokina ATXAF120DXC 11-20mm f/2.8 – https://amzn.to/37mB6nF
— Mic —
Deity V-Mic D4 Duo – https://amzn.to/3s5G28B


